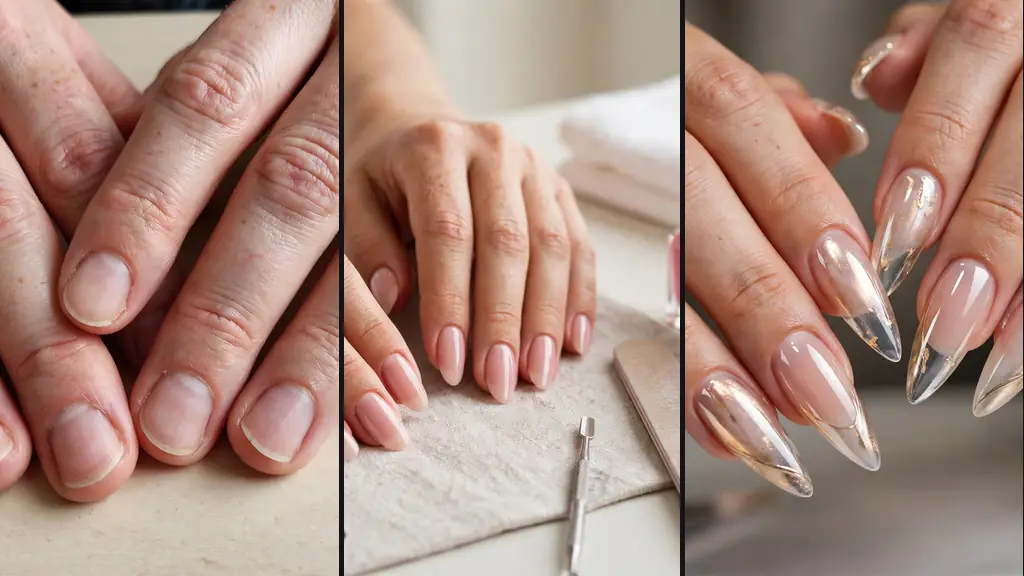
This acrylic nails guide covers everything you actually need to know before getting your first set — what acrylics are, how they go on, what they cost, and how to keep both the nails and your natural nails underneath in good shape. Acrylic nails are one of the most popular nail enhancements in the world because they are strong, long-lasting, and endlessly customizable. But they are also a commitment. Read this acrylic nails guide first, and you will walk into the salon knowing exactly what to ask for.
Acrylic Nails Guide: What Acrylics Actually Are
Acrylic nails are artificial nail extensions created by combining a liquid monomer with a powder polymer. Mixed together, they form a paste that hardens in the air into a tough, durable nail. A technician sculpts this mixture over your natural nail — or over a tip glued to it — files it into shape, and finishes it with polish, gel color, or nail art.
The result is far stronger than a natural nail — ideal for length your own nails cannot hold, or a manicure that survives daily life for weeks. A well-done set looks seamless; the difference is almost entirely the technician’s skill.
Acrylics vs Gel vs Press-Ons: Which Should You Pick?
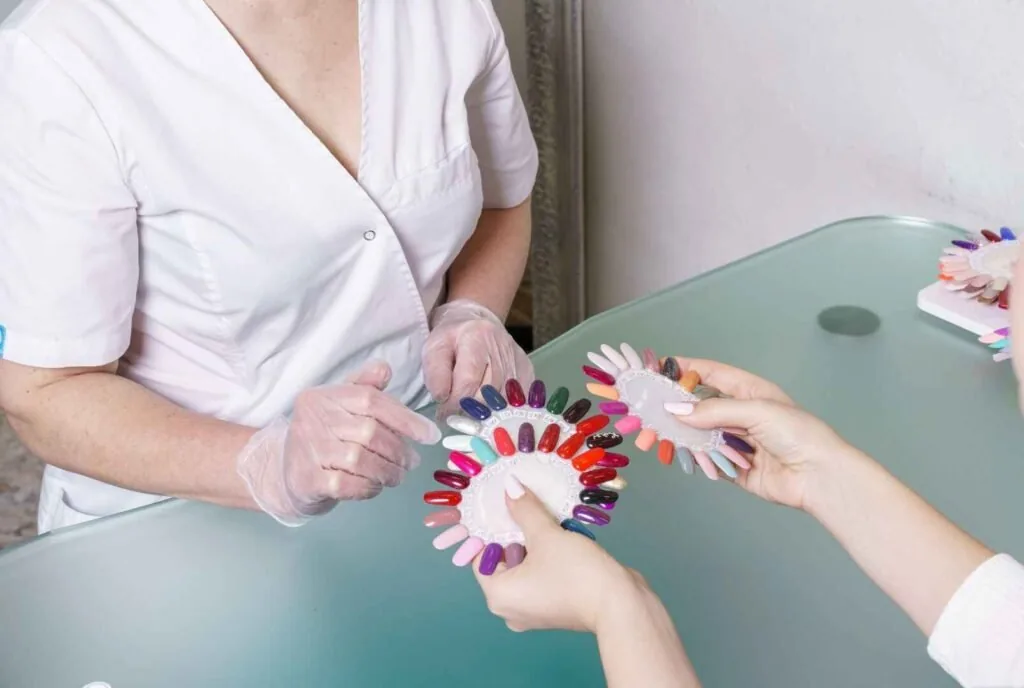
The three main options get confused a lot, so here is the quick breakdown. Acrylics are the strongest and best for dramatic length and intricate 3D art, but they involve stronger-smelling chemicals and the thickest feel. Gel extensions (like Gel-X) are lighter, more flexible, and have less odor, but they can be more expensive and usually need a UV or LED lamp to cure. Press-on nails have come a long way — modern ones look surprisingly good for a week or so — but they are temporary by design.
Choose acrylics if you want maximum durability and length, gels if you prefer a lighter, more natural feel, and press-ons if you want commitment-free nails for an event. There is no wrong answer, only what fits your lifestyle and budget.

The Acrylic Application Process, Step by Step
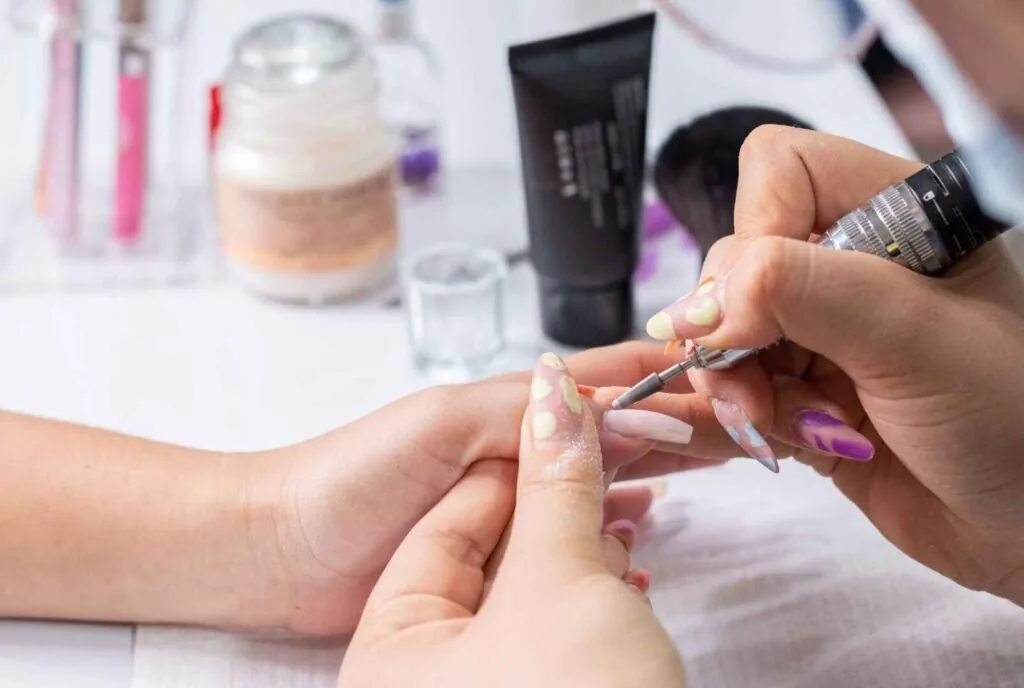
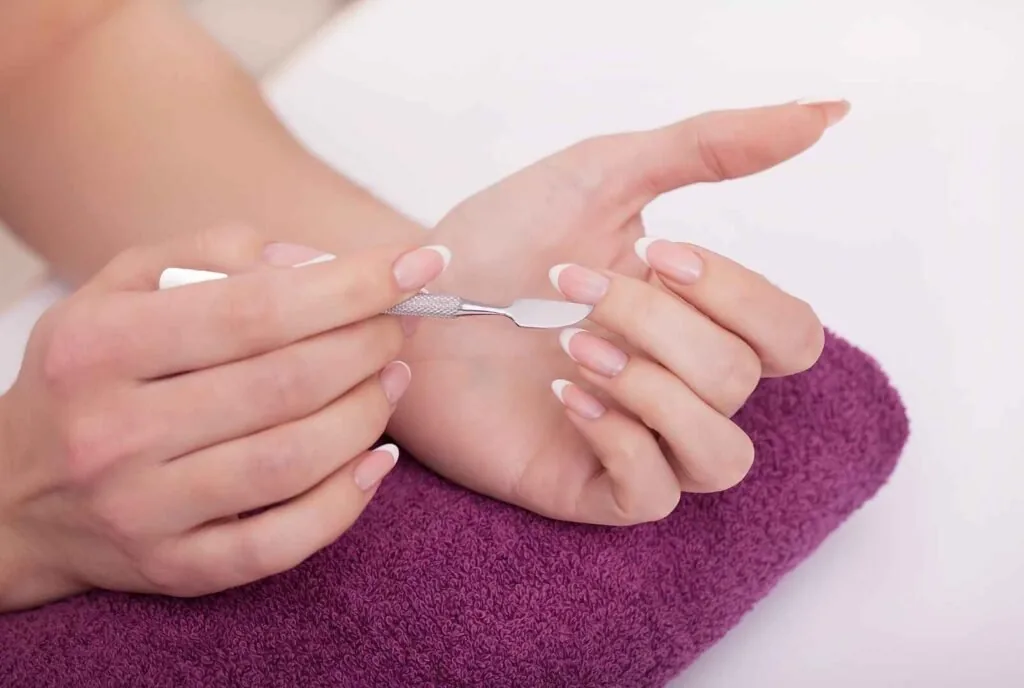
A standard full set takes one to two hours. First, the technician preps your natural nails: pushing back cuticles, lightly buffing the surface, and dehydrating the nail plate so the product adheres. Tips are glued on if you want added length, then trimmed to your chosen size.
Next comes the sculpting. The tech dips a brush in liquid monomer, then into acrylic powder, and places the resulting bead onto your nail, shaping it before it hardens. This is the part that takes real skill — the nail needs the right thickness at the stress point (near the cuticle area) without looking bulky. Then comes filing and shaping into your chosen style: square, almond, coffin, stiletto. Finally, color — regular polish, gel polish, or art — plus a top coat. If you love detailed designs, this French tip nail art guide is a great companion read for classic styles that work beautifully on acrylics.
Acrylic Nails Guide to Aftercare That Lasts
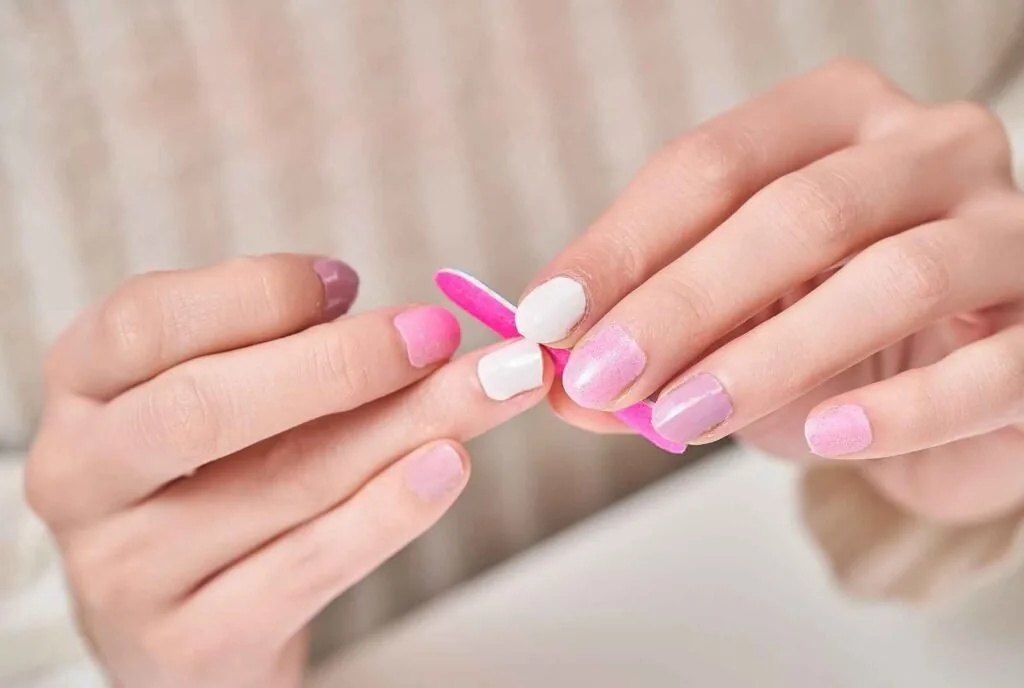
How long your set lasts depends heavily on what you do after leaving the salon. Wear gloves for cleaning and dishwashing — prolonged water and chemical exposure loosens the bond. Never use your nails as tools to open cans, scrape stickers, or pry things; that is how breaks and painful lifting happen.
Moisturize your cuticles daily with cuticle oil. It keeps the skin around the nail flexible and helps prevent the lifting that starts at the edges. If a nail does lift slightly, do not pick at it — moisture gets underneath and can cause a greenish discoloration (a bacterial issue sometimes called “greenies”). Get it fixed promptly. And keep up with the general nail care basics from dermatologists: trim, don’t bite, and give nails attention between appointments.
Fills, Infills, and Removal: What to Expect
Your natural nails keep growing, so after two to three weeks a gap appears near the cuticle. A “fill” (or infill) closes that gap with fresh acrylic and rebalances the nail — it costs less than a full set and takes less time. Most people get fills every two to three weeks and a brand-new set every couple of months.
Removal deserves its own warning in any acrylic nails guide: do not rip acrylics off. Pulling them takes layers of your natural nail with it, leaving them thin, painful, and weak for weeks. Proper removal means soaking in acetone for twenty to thirty minutes until the acrylic softens, then gently pushing it off. Salons do this routinely and it is worth the appointment. If you are soaking at home, protect the surrounding skin with petroleum jelly and moisturize thoroughly afterward.

Acrylic Nails Guide: Keeping Natural Nails Healthy Underneath
The biggest myth about acrylics is that they ruin your nails. Acrylics themselves do not damage nails — bad application and bad removal do. Over-filing the natural nail plate during prep, or ripping off a set instead of soaking it, is what causes the thin, brittle aftermath people blame on the product.
Choose your technician carefully: look at healed work, ask about their prep process, and walk away from anyone who files aggressively or rushes removal. Between sets, a week or two of bare nails with regular oiling lets them recover. Persistent redness, itching, or swelling around the nails deserves a dermatologist’s look — some people develop sensitivities to the chemicals involved.
For style inspiration between appointments, check out these iconic nail designs making a huge comeback and the hottest summer manicure trends — both translate beautifully onto acrylics.
Cost, Time, and Choosing a Good Salon
Expect a full set to cost noticeably more than a basic manicure, with fills priced lower. Intricate art, extra length, and premium shapes like stiletto add to the bill. Budget for the ongoing fills too — acrylics are not a one-time expense.
When choosing a salon, cleanliness is non-negotiable: tools should be sterilized, files and buffers should be single-use or properly disinfected, and the workspace should look organized. Read recent reviews, look at photos of the salon’s actual work, and trust your nose — overwhelming chemical fumes with no ventilation is a red flag. A good tech will also ask about your lifestyle and recommend a length and shape that actually suits how you live.
This acrylic nails guide comes down to one principle: the product is only as good as the hands applying it. Find a skilled technician, follow the aftercare, never skip the fills, and remove them properly — and your acrylics will look great for as long as you want them.