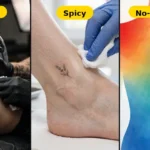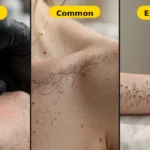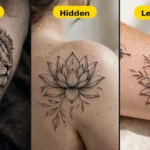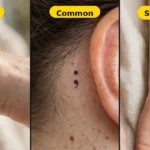
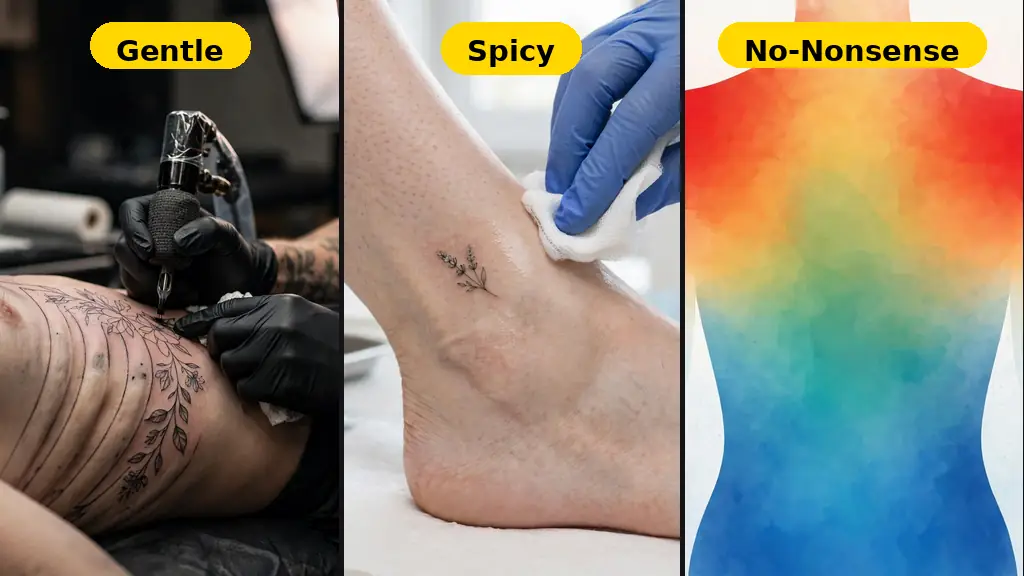
Everyone asks “how much does it hurt?” before their first tattoo — and almost nobody gets a straight answer. This tattoo pain chart is the straight answer: every major body zone ranked from least to most painful, explained in plain language so you can choose your placement with confidence.
In this guide, we’re ranking every spot — from the outer thigh (a breeze) to the ribs (spicy) — plus 9 pro tips that actually take the edge off, and what to do when you need a break mid-session.
📑 In This Article
- How Tattoo Pain Actually Works (And Why a Tattoo Pain Chart Helps)
- The Tattoo Pain Chart: Every Zone Ranked Least to Most Painful
- Why the Same Spot Hurts Different People Differently
- 9 Pro Tips to Hurt Less During Your Session
- What to Do If You Need a Break Mid-Session
- Pain vs. Healing: What Comes After the Needle
How Tattoo Pain Actually Works (And Why a Tattoo Pain Chart Helps)
Tattoo pain is a mix of scratching, burning, and a dull buzzing vibration as the needle works. The intensity comes down to three anatomical factors:
- Nerve density — areas packed with nerve endings (fingers, ribs, feet) send louder pain signals.
- Distance from bone — close to bone (ankle, collarbone, sternum), the vibration amplifies and pain sharpens.
- Fat and muscle padding — thick, cushioned areas (outer thigh, calf) absorb the buzz and mute the sensation.
That is all a tattoo pain chart really is: a map of those three factors across your body. Learn the pattern and you can predict almost any spot.
The Tattoo Pain Chart: Every Zone Ranked Least to Most Painful
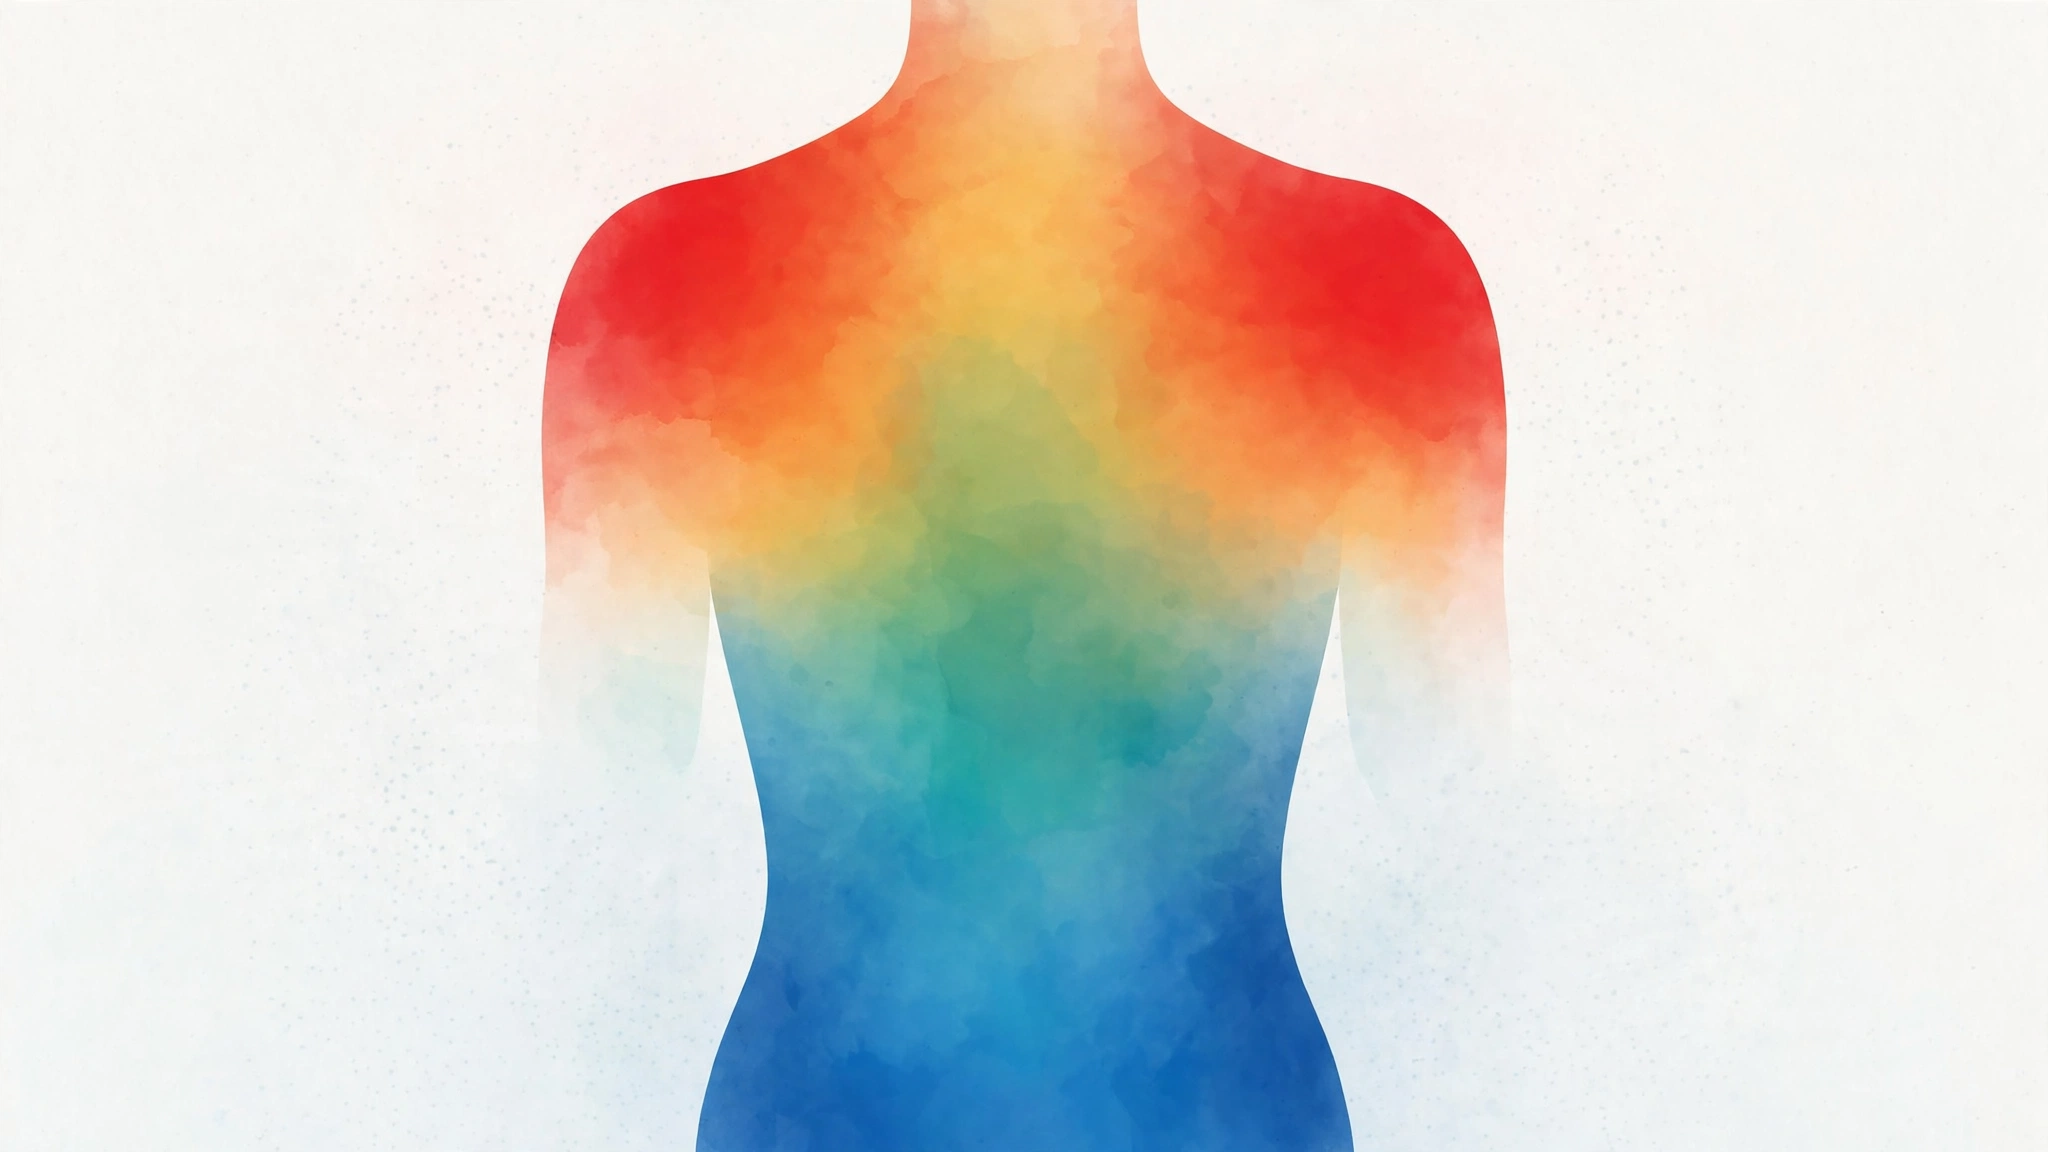
Here is the full tattoo pain chart, ranked from the easiest spots to the spiciest. Ratings are relative — pain is never zero, but the difference between the top and bottom of this list is enormous:
- Outer thigh — thick skin, good padding, few nerve endings; often ranked among the least painful spots. See thigh tattoo ideas here.
- Outer upper arm / deltoid — fleshy and low-nerve; the classic first-tattoo location.
- Calf — meaty and relatively calm.
- Forearm (outer) — smooth sessions for most people.
- Buttocks — well-padded and low on nerve endings.
- Shoulder blade — bony in spots, but the muscle keeps things manageable.
- Upper back — broad and fleshy; among the easiest torso placements.
- Wrist — thin skin over tendons; quick pieces are fine, long sessions sting.
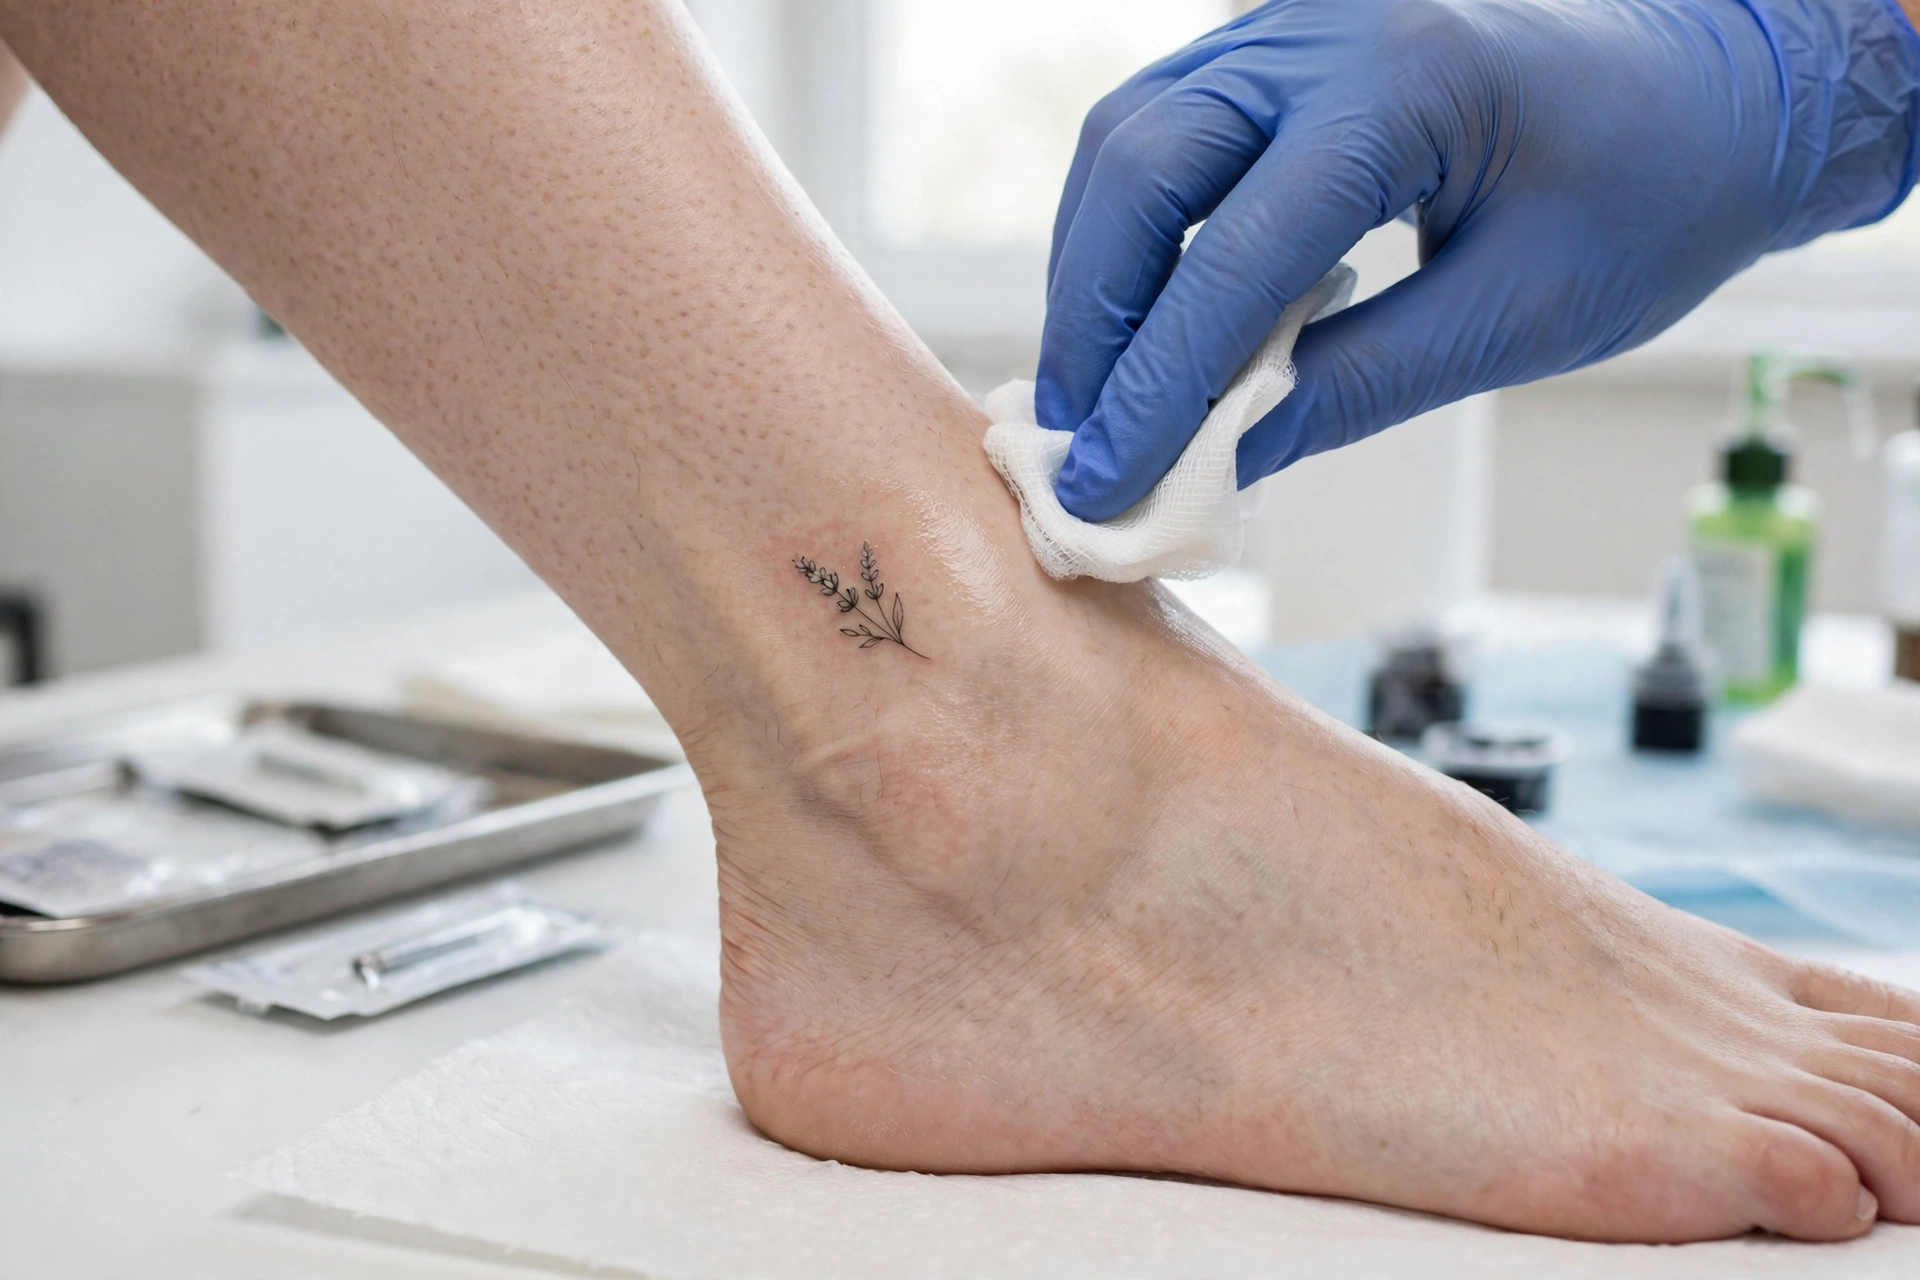
- Ankle — the needle works almost on bone; short, sharp pain.
- Foot (top) — very little padding; notoriously “crunchy” feeling.
- Collarbone — vibration travels along the bone; delicate but very noticeable.
- Behind the ear — the buzzing resonates through the skull.
- Sternum — thin skin over bone; rises with every breath.
- Inner thigh / groin area — soft skin, dense nerves; one of the hardest spots.
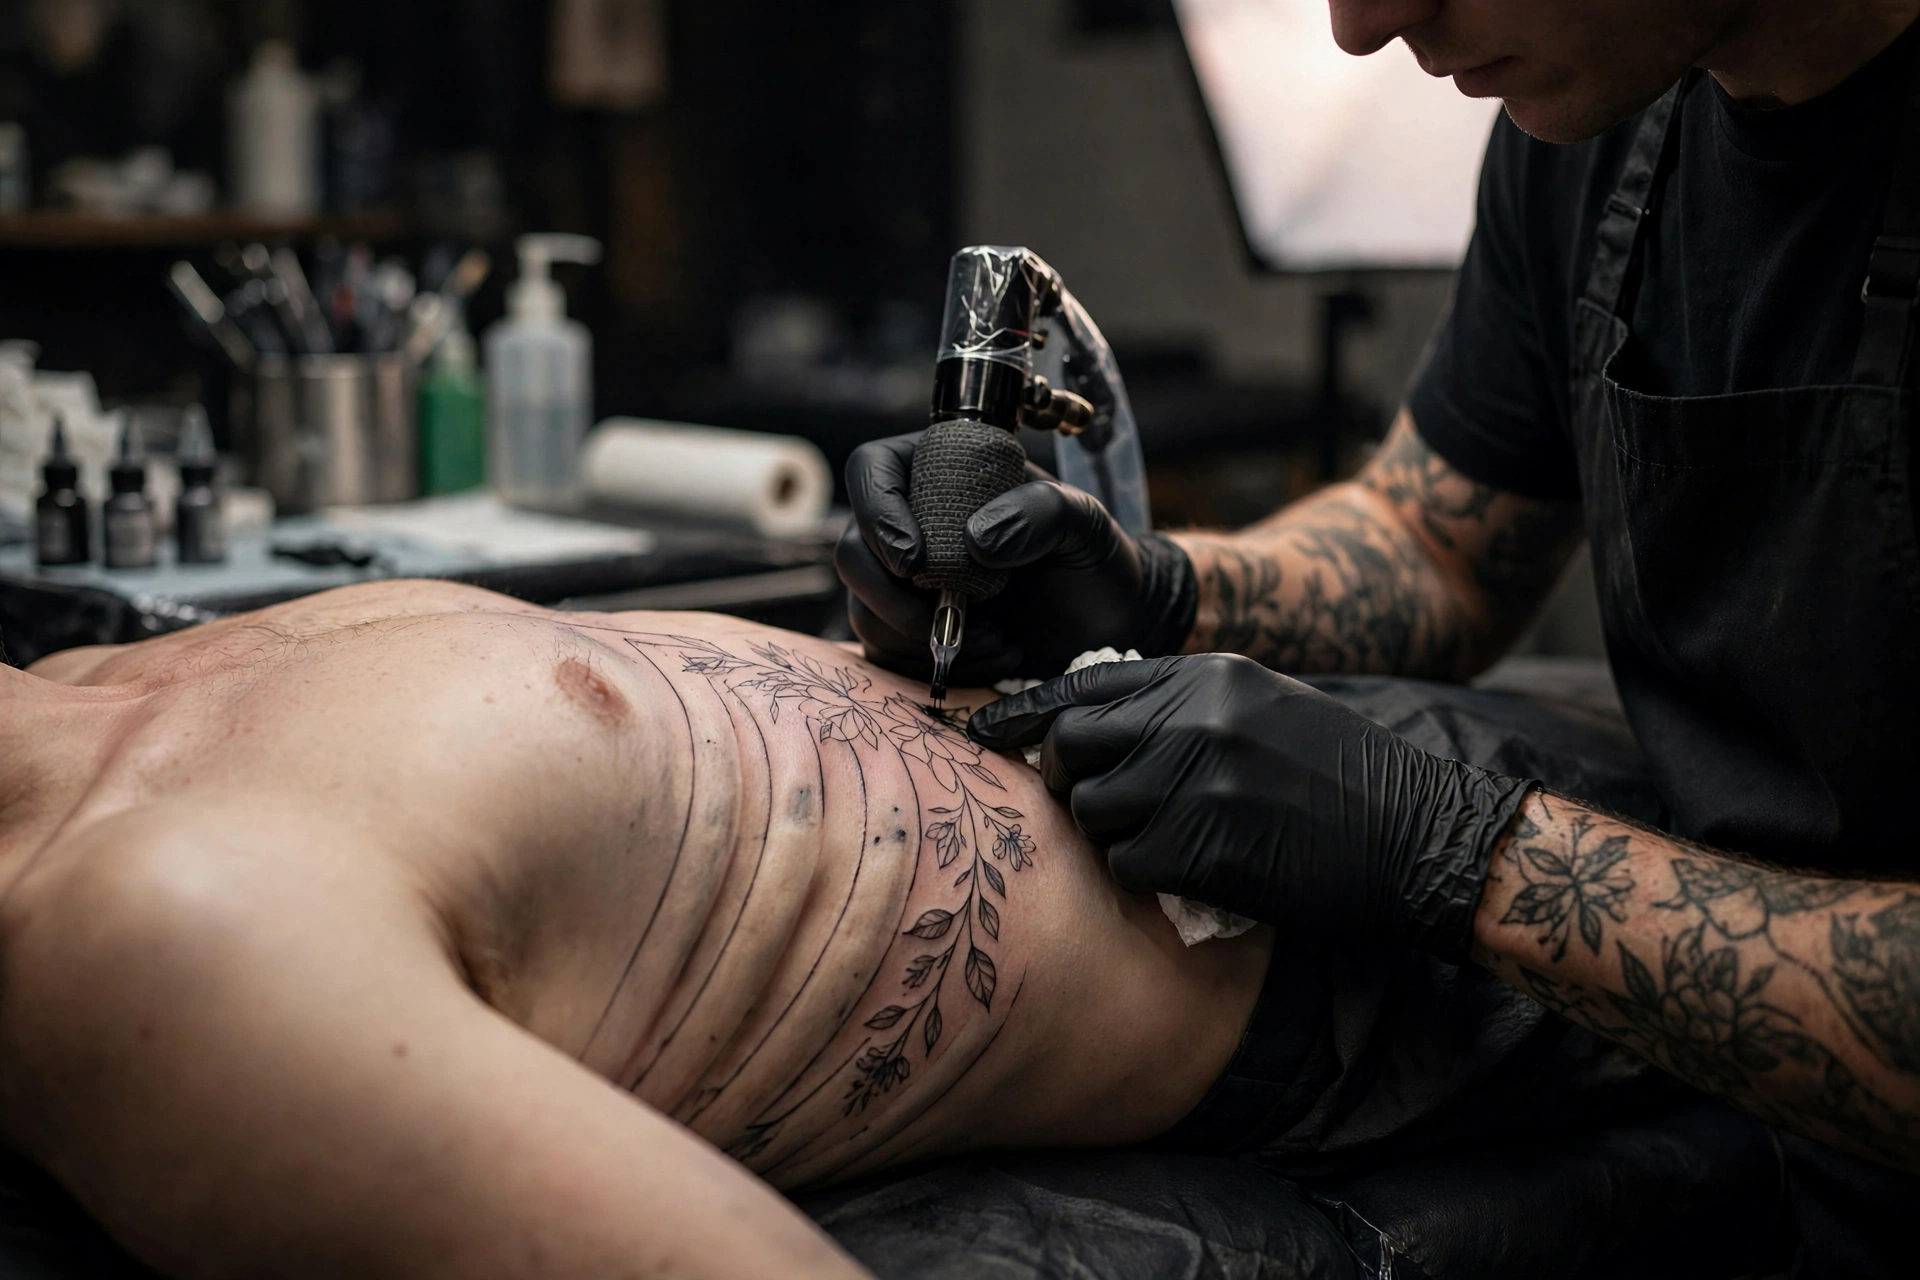
- Ribcage — thin skin stretched over bone, right against the lungs; often ranked among the most painful zones. Back placements feel very different — compare here.
- Armpit — sensitive nerve bundles; not a first-tattoo pick.
- Neck (front/throat) — delicate skin, dense nerves; you feel every vibration in your jaw.
- Lip (inner) — zero cushion over muscle; short session, maximum sting.
Why the Same Spot Hurts Different People Differently
Charts are averages — your body has its own opinion. The same rib tattoo can feel mild to one person and like a fire alarm to another, and that is normal:

- Pain tolerance — some nervous systems turn the volume down; yours is not wrong if it turns it up.
- Fatigue and stress — an exhausted, stressed body feels more pain.
- Menstrual cycle — many report higher sensitivity around their period.
- Previous tattoos — your first session always feels more intense than your tenth.
- Artist technique — a heavy-handed artist and a light-handed one are different experiences entirely.
Use the chart as a guide, not a verdict. Your session, your rules.
9 Pro Tips to Hurt Less During Your Session
These nine tips genuinely take the edge off, and experienced clients swear by them:
- Sleep well the night before — a rested nervous system handles pain far better than an exhausted one.
- Eat a proper meal 1–2 hours before — low blood sugar turns mild discomfort into dizziness.
- Stay hydrated — sip water through the session.
- Skip alcohol for 24 hours before — alcohol thins the blood, increases bleeding, and often makes pain feel worse, not better.
- Ask about numbing cream — many shops allow lidocaine-based products; ask your artist before the appointment.
- Breathe on purpose — slow, steady breathing; holding your breath tenses your body and amplifies pain.
- Bring a distraction — music, a podcast, or conversation keeps your brain off the buzzing.
- Dress comfortably — easy access to the area, loose clothing, layers.
- Schedule smartly — book mornings when you are fresh, not after a draining day.
And budget honestly: longer sessions affect cost. Our 2026 tattoo price guide breaks down exactly what to expect.
What to Do If You Need a Break Mid-Session
Needing a break is strategy, not weakness. Good artists would rather pause than work on a shaking, sweating canvas. When the pain spikes:
- Say so immediately. Say “I need a minute” the moment you feel woozy or your muscles start trembling.
- Sit up slowly if you have been lying down — tattoo lightheadedness is common.
- Eat something sweet — a juice box or candy bar fixes blood-sugar dips that make pain spiral.
- Walk around for 5–10 minutes — stretch, use the bathroom, reset your breathing.
- Know your hard stops. Feeling close to fainting means the session ends for today — most artists rebook the rest without drama.
Pain vs. Healing: What Comes After the Needle
The healing itch is usually worse than the tattoo itself for most people — but it is manageable:
- Day 1–3: a warm, sunburn-like tenderness; normal.
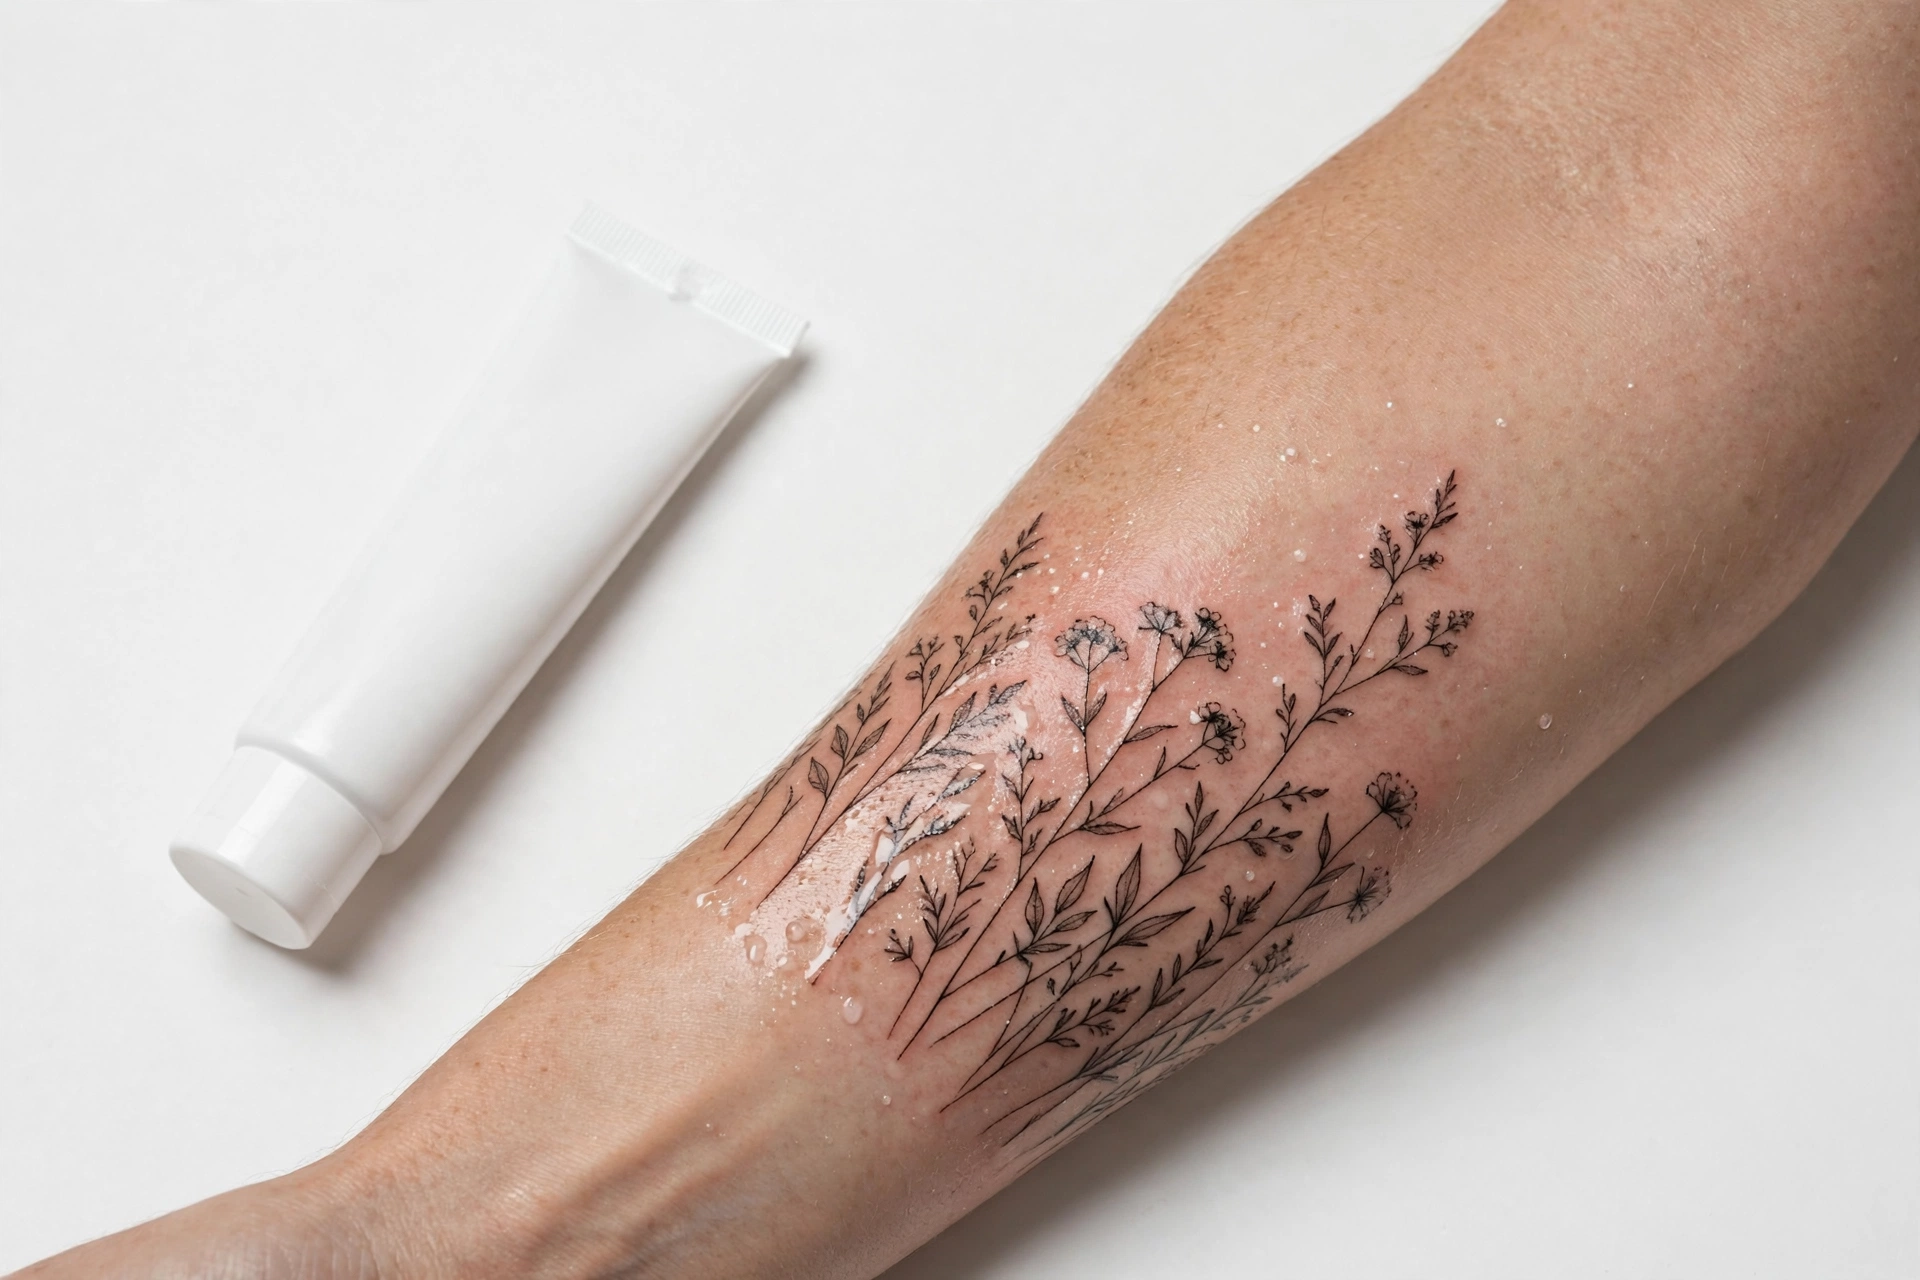
- Day 4–10: the itch phase — light flaking and peeling. Do not scratch; gentle moisturizing and patting do the job.
- Week 2–4: the skin looks healed but is still settling; keep it out of the sun.
The American Academy of Dermatology’s tattoo skincare guide covers the dermatologist-backed routine, and the FDA’s Think Before You Ink page answers the safety questions every first-timer should read.
This tattoo pain chart tells you where it hurts most — plus why, and how to handle it. Pick a spot that suits your design and your comfort level, prep well, and walk in confident.
Which one is your favorite? Tell us in the comments — which spot did YOU find most painful, and which was easier than expected?